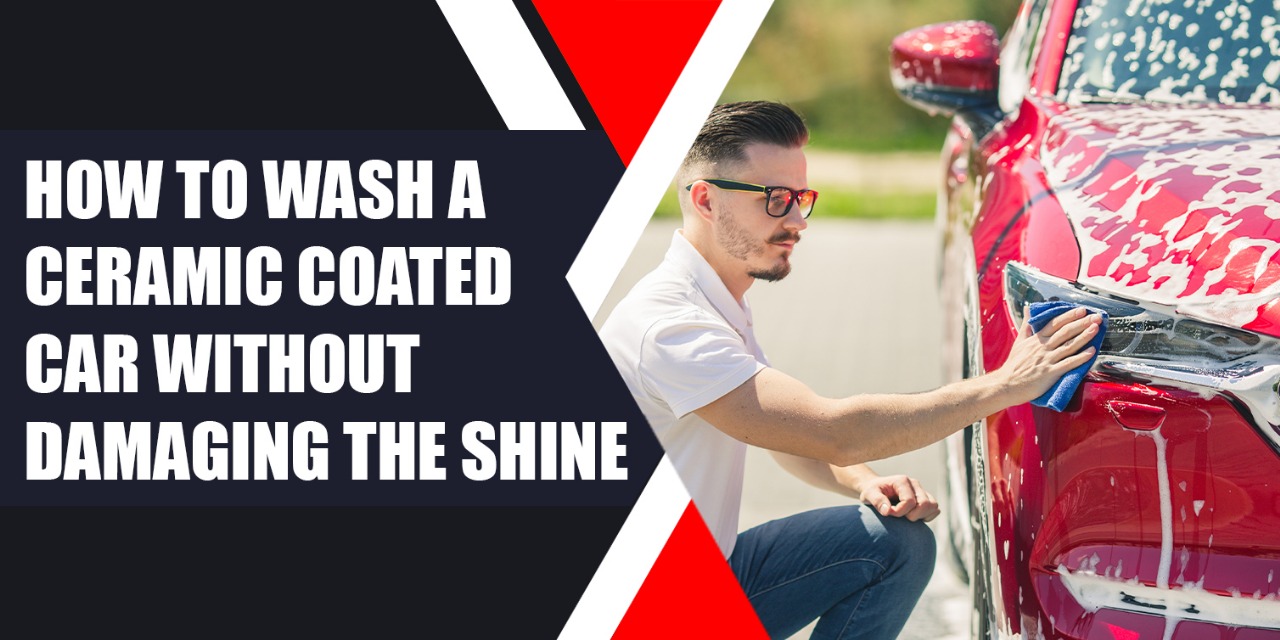
There's a feeling that every true car enthusiast knows all too well. That emotion that you get when you first see your car after you had a brand new ceramic coating put on - the level of shine is spectacular, mirror-like, the depth of paint is exhilarating. You look at it and it is no longer a vehicle - it becomes a piece of art, the tangible extension of your passion for everything automotive. You have not only put your money into this beautiful piece of engineering and design - you have built a piece of you into that perfect gloss. So even thinking about taking the chance on a dreadful wash that will dull all that beauty? It should send shivers through the soul of any car enthusiast everywhere.
What if I told you that it may be easier to maintain your ceramic coating than you thought. You can indeed wash and care for your ceramic coated car without taking the chance of ruining that peerless shine for many years to come. So let’s not look at this as a chore, rather a sacred right of passage of safeguarding the beauty you worked so hard to achieve.
Before we go on and talk about the 'how', let's just state the 'why' quickly. A ceramic coating spray provides a hard, clear coat on your paint, is extremely hydrophobic (meaning it repels water) and will also make dirt and grime much harder to actually adhere to your surface. There is a lot more too, but as far as your car is concerned, this finish will provide enhanced UV protection and will be relatively resistant to minor scratches and chemical stains. In a nutshell, washing will be less frequent and easier, but as a reminder, you are not allowed to just dump a bucket of soapy water on your vehicle again right? Your new goal is to wash the car properly without the worry of inducing swirl marks or damage to the coating service.
To properly wash your ceramic-coated car, you need the right tools. Skimping here is like trying to paint a masterpiece with a house brush!
1. Two Buckets (with Grit Guards) - This is essential. One bucket has soapy water, and the other is a rinse bucket for the wash mitt. There are grit guards at the bottom of the buckets, which trap the dirt, so it won't transfer back to your car.
2. High-Quality Car Shampoo - Use a pH-neutral shampoo specifically labeled as safe to use with a ceramic-coated vehicle. Do not use products that have harsh detergents, and avoid any “wash and wax” type products at all costs since the wax could act as a barrier to the engine of the ceramic and hinder its ability to perform as intended.
3. Microfiber Wash Mitts - Choose plush, high-quality microfiber mitts. They are soft on the surface, hold large amounts of soap, and create less friction on the surface than using a sponge.
4. Microfiber Drying Towels - Like the mitts, high quality and very absorbent. Waffle weave or twist pile towels work best. Don't use any old cotton towels, these could scratch.
5. A Hose with a Spray Nozzle or Pressure Washer - Typically, a good steady stream of water is sufficient, however, using a pressure washer at a lower setting will pre-rinse in a quick and efficient manner.
6. Optional: Foam Cannon - If you really want to take your wash to the next level, a foam cannon will create a thick layer of suds on the entire car to dwell and work to help loosen dirt long before you ever touch it.
7. Optional: Ceramic Booster/Topper: Product developed to increase or replenish the ceramic coating hydrophobic properties. Use periodically after the wash.
Follow these steps diligently, and your ceramic-coated car will thank you with enduring brilliance:
Step 1: The First Rinse – Removal of Loose Dirt
The first step in properly washing your car is to rinse the entire surface with water. Whether you're using your hose or a pressure washer, we recommend using a gentle setting and rinsing from top to bottom. The goal is to rinse off all of the loose dirt, dust, and particulates. You will likely find it fascinating how well the water sheets off, due to the coating on your car.
Step 2: The Foam Pre-Soak (use of foam cannon is very recommended)
If you have a foam cannon, use it now! Apply a very thick layer of ceramic-safe car shampoo foam over your entire car while it is still wet. Allow the foam to sit for 5-10 minutes, allowing the foam's thick structure to encapsulate and lift dirt. Using foam before scrubbing the car eliminates a lot of scrubbing, as well as the potential for scratches. If you don't have a foam cannon, skip straight to Step 3 after making sure you rinse the car very well first.
Step 3: The Two Bucket Hand Wash – Gentle Washing
Fill the first bucket with your ceramic-safe car shampoo and add water (you should be able to find dilution rates). Fill the second bucket with clean rinse water and grit guard. Place the microfiber wash mitt in soapy water and get your wash project started.
Wash one section of your car at a time (i.e., one fender and then one door) working from top to bottom. Make straight-line passes rather than circular motions, as this will reduce the risk of swirl marks. After washing a section, rinse your mitt in the clean water bucket while rubbing it on the grit guard to release any trapped dirt. Again, dip it back into the soapy water and move on to the next section. Following these steps with the two-bucket method will go a long way in preventing scratches.
Step 4: The Final Rinse – Removing All Suds
Once you have finished washing the entire car, rinse it thoroughly and completely with clean water, again from top to bottom. You don't want to leave any soap residue on the car, because this will cause water spots.
Step 5: The Drying – Gentle Absorption
This is where most people mess up. DO NOT air-dry your ceramic-coated car in direct sunlight because this will render this paralysis a water spot. You now get to use your high-quality microfiber drying towels. Simply lay a large towel flat on a section of the car and either pat or drag it across the surface of the car to absorb the water. Do not rub it aggressively. Since you put in the hard work of ceramic coating a car, the hydrophobic nature will help drying your car exceptionally short and easy.
Step 6: Inspection and Maintenance (Optional)
Once dry, step back and admire that amazing shine! If you want to periodically boost your coating's performance, apply a ceramic-safe detail spray or coating topper according to the product's instructions. This will enhance gloss and hydrophobicity.
When you consider the initial ceramic coating price or the overall car coating price, it's clear you've made an investment in your car's appearance and protection.When you think about the initial cost of the ceramic car coating, you can recognize that you made an investment in your vehicle's look and protection. If you are following these simple, yet crucial, steps (to wash your car), you are not just cleaning your vehicle, you are maintaining that investment and helping keep that eye-catching shine for years. There is so much satisfaction in knowing that you have taken care of your beloved vehicle, and preserving that initial excitement when you see the beautiful shine in its reflection.
So are you ready to keep your car's shine protected with the best? For all your ceramic coating installation and care questions, visit Carheroz – your partner in shiny rides. Just type in "car ceramic coating near me" and go with the real heroz of car care!

CARHEROZ uses eco-friendly products and high-quality materials. Our team utilizes top-notch cleaning agents and protective coatings to ensure long-lasting results without compromising on quality.